


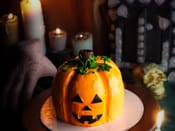
Create the perfect 3D pumpkin cake your guests will love
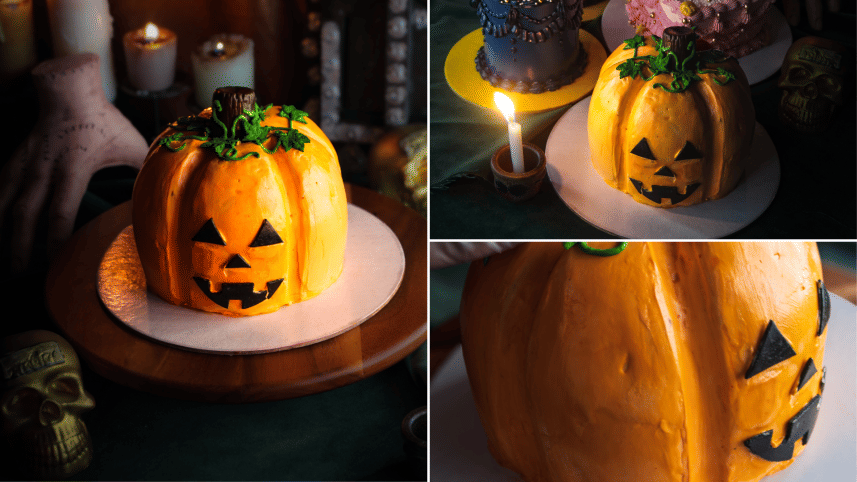
Nothing says "fall" like a gorgeous, showstopping pumpkin cake. This 3D Pumpkin Cake has layers of rich, moist red velvet cake, a smooth and tangy cream cheese frosting, and a luscious Swiss meringue buttercream finish. It's not just a cake; it's a centrepiece, a conversation starter, and a true treat for the senses.
Get ready for some fun carving, colouring, and frosting, because this cake is as much about artistry as it is about flavour.
 For all latest news, follow The Daily Star's Google News channel.
 Red velvet cake base
Ingredients
2 1/2 cups all-purpose flour
1 tsp salt
2 cups sugar
1 cup butter (softened)
2 eggs (at room temperature)
1 tbsp cocoa powder
1 1/2 tbsp liquid red food colouring
1 cup milk
1/2 tsp apple cider vinegar (or lemon juice)
1 tsp vanilla extract
1/2 tsp baking soda
1 tbsp apple cider vinegar
Method
Preheat your oven to 350°F (175°C). Grease and line your cake pans with butter and parchment paper — 6" pans work great, and you'll want to bake the layers individually. Sift together the flour and salt and set aside.
In the bowl of a stand mixer, beat together the butter and sugar until light and fluffy. Add the eggs, one at a time, mixing well after each addition. In a separate cup, combine the milk with ½ tsp of vinegar and let it stand for 5 minutes — this will be your buttermilk substitute.
Add the flour mixture and the buttermilk to the wet ingredients alternately, starting and ending with the flour. Stir in the vanilla extract until combined.
In a small bowl, mix the red food colouring with the cocoa powder to form a paste. Add this to the butter and sugar mixture and blend well. In another small bowl, combine the baking soda and apple cider vinegar — it'll foam up, so quickly add it to the batter and mix on medium-high speed until smooth.
Spoon the thick batter evenly into your prepared pans, levelling the tops with an offset spatula. Bake for 18-25 minutes, or until the cake springs back when pressed in the centre. Let the cakes cool completely on wire racks.
Cream cheese frosting
Ingredients
450g cream cheese (softened)
1 cup butter (softened)
2 tsp vanilla extract
4-5 cups sifted confectioners' sugar
Method
In a large mixing bowl, beat together the cream cheese, butter, and vanilla until smooth. Gradually add the sifted confectioners' sugar, mixing on low until combined. Once the sugar is incorporated, increase the speed to high and beat until the frosting is light and fluffy.
If the frosting is too thick, add a little milk to loosen it up. If it's too thin, add more powdered sugar or chill it in the fridge to firm up. When you're ready to crumb coat, make sure your frosting is fresh and still sticky for a smooth application.
Swiss meringue buttercream
Ingredients
5 egg whites
1 1/2 cups sugar
500g unsalted butter (softened)
1 tbsp vanilla essence
Method
Combine the egg whites and sugar in a large mixing bowl and set it over a double boiler. Whisk gently but constantly, using a candy thermometer to check the temperature. Once it reaches 160°F (70°C), remove it from the heat.
Transfer the mixture to your stand mixer and beat on high for 10 minutes until stiff peaks form. Let it cool to room temperature.
Switch to a paddle attachment and, on low speed, add the softened butter in small portions until fully incorporated. Once smooth, add the vanilla essence and continue to beat on medium-high speed until creamy and fluffy.
This buttercream can be stored in the fridge for up to a week or frozen for a month.
ASSEMBLY
You'll need:
Cake board
Cake turntable
Spatula and cake smoother
Knife for carving
Orange, green, brown, and black gel food colour
Swiss meringue buttercream
Fondant
Method
Start by placing a cake board on your turntable. Add a small dollop of cream cheese frosting in the centre of the board and set the first layer of red velvet cake on top to anchor it in place. Spread a generous layer of cream cheese frosting on top of the first layer and repeat the process with the remaining cake layers until you've used all three.
Once the layers are stacked, use a sharp knife to carve the top of the cake into an oval shape, angling the knife as you go to achieve that pumpkin-like appearance. Then, carve lines into the sides to create the classic pumpkin silhouette.
Apply a crumb coat over the entire cake to seal in the crumbs and smooth out the shape. Refrigerate the cake for at least 2 hours to firm up before applying the final coat.
Cover the entire cake with orange Swiss meringue buttercream, smoothing it out to form the pumpkin shape. To create the face, sketch the eyes, nose, and mouth on paper, cut them out, and use them as templates. Mark these shapes on the cake and carefully carve them out.
Next, colour some fondant with dark brown edible food colour and shape it into the pumpkin stalk, placing it at the top of the cake.
For the eyes, nose, and mouth, colour black fondant and roll it out. Use the templates to cut out the shapes and place them on the cake.
For extra detail, tint some buttercream green and pipe out tendrils or vines around the pumpkin stalk. Add green fondant leaves using a mold or knife and place them around the pumpkin for a natural, finished look.
And just like that, your stunning 3D Pumpkin Cake is ready to impress!
Once sliced, store the cake in an airtight container in the fridge for up to a week. Enjoy the spooky, sweet success!
How to decorate the 3D pumpkin cake
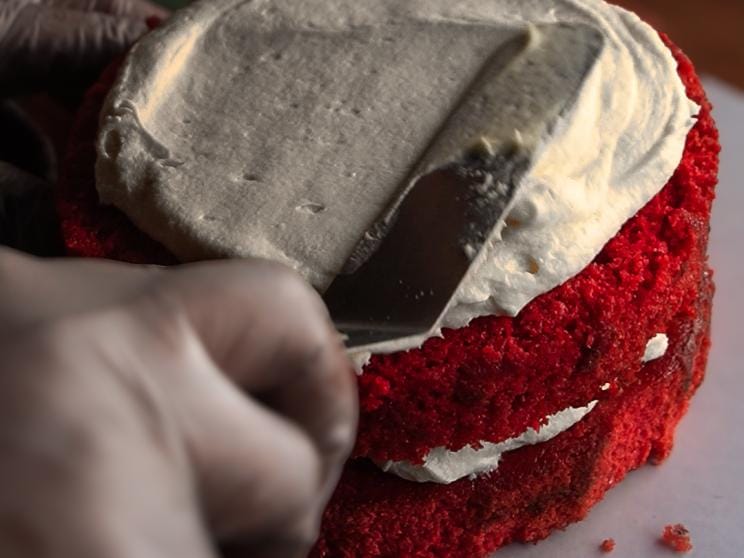
1. Place a cake board on a turntable with a dollop of frosting, then position the first red velvet cake base. Soak in milk for moisture and layer with cream cheese frosting, repeating for all 3 cake layers.

2. Carve the stacked cake to form the classic pumpkin shape and apply a crumb coat to refine the silhouette.
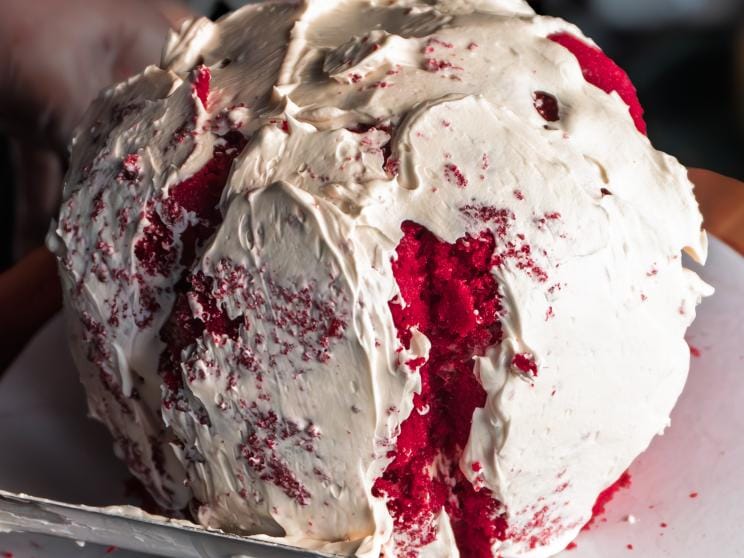
3. Smooth out the lines and refrigerate the cake for at least 2 hours to set the shape.
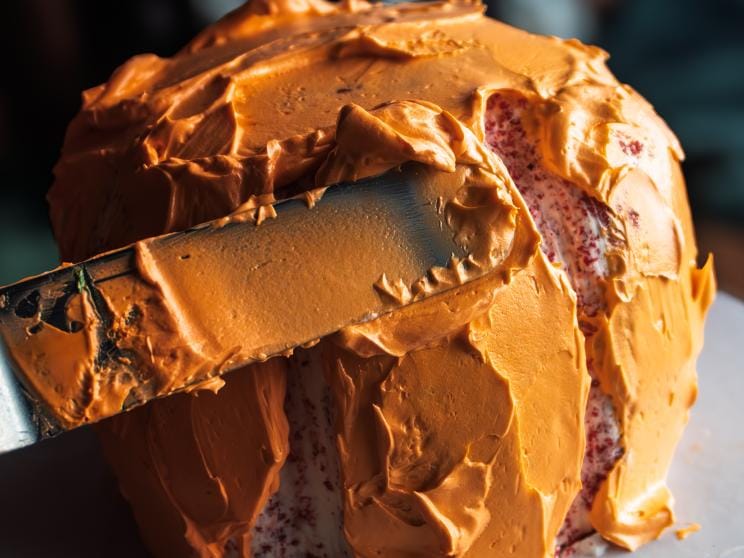
4. Cover the chilled cake with orange Swiss meringue buttercream and smooth it into a pumpkin form.
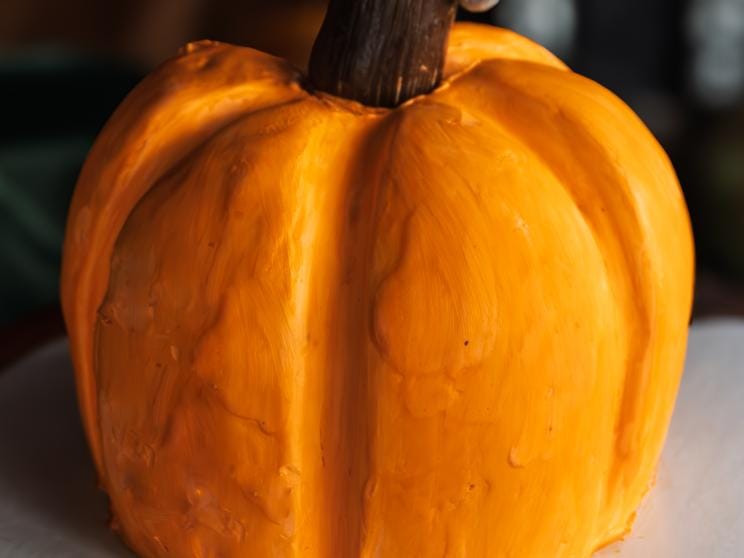
5. Colour fondant dark brown to create the pumpkin stalk, then colour more fondant black to cut out facial features using templates and place them on the cake.
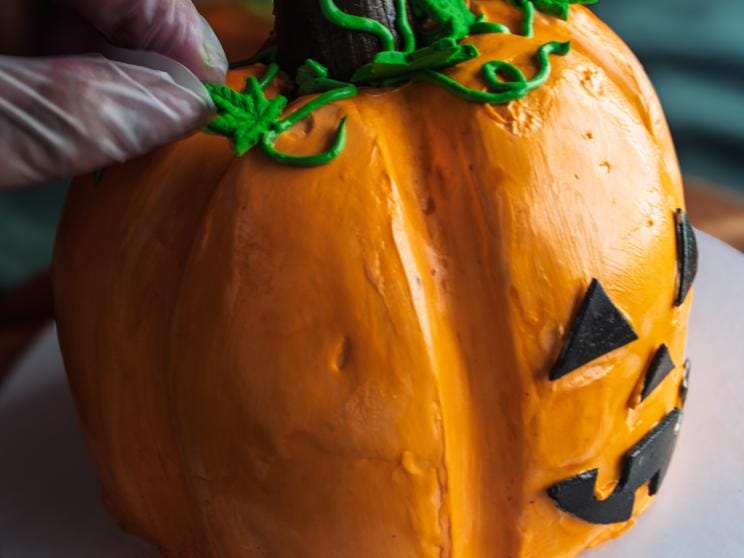
6. Tint buttercream and fondant green to pipe vines and cut out leaves for decoration.
Photo: Courtesy
Food, recipes and styling: Saria Saguaro
Comments